
I bet you're curious how I attached all of these awesome maps around my boys' bedroom, aren't you? Yeah, it's something to lose sleep over, really!

I did spend a few days wondering what the best approach would be. Staples--too many holes in the wall. Tape--too tedious, not to mention difficult to remove. Poster putty--too easy for little boys to take off the walls. Mod Podge--might have been the smoothest and easiest to work with, but I only had about 6 ounces on hand and didn't want to invest in gallons of the stuff. I also haven't worked with Mod Podge enough to know how easy/difficult it would be to remove. Wallpaper paste--too expensive and very difficult to remove.

So that left.... flour paste!

Yup! I mixed flour and water until I had a consistency like pancake batter. Then I just painted it on the wall in sections.
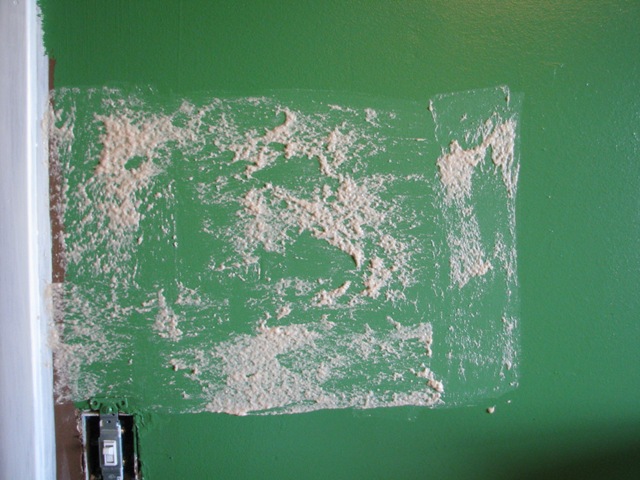
Oh, look! I never painted around the door!
I only had whole wheat flour on hand and I think white would have been better. The high gluten content made my paste a little bumpy. It dried pretty smooth though, so all's well that ends well!

It was pretty simple: paint the wall, smooth the map on the wall. The wrinkles worried me, but most of them disappeared when the flour paste dried. The extra paste was easy to wipe up when it was wet, and any extra can be wiped off the wall, though it takes a little scrubbing. Several corners have been pulled off by curious little guys, but a little paste puts it right back on. I'm not sure what a real removal would be like--I don't know if you can salvage and reuse the maps, or if they rip and tear. Time will tell!

We were given a huge variety of maps, mostly from National Geographic. There are state maps, country maps, topographic maps. There are recent ones and ones that show the USSR, as well as historical maps of the United States.

I slightly overlapped the edges and corners of the maps. I wanted the display to look like it grew over time, as well as hiding corners from small fingers!

I lined edges up with the door and window trim and cut a hole for the light switch.

I staggered the height of the maps and tried to mix the subjects. I also kept the top and bottom edges random.

I wrapped maps around the corners. I made sure there was a recent US map at eye level for my boys to learn the states!


So there you have it! From the Great Lakes Region to Alaska, from the Canadian Provinces to Africa, from the Holy Land to the Civil War, from Krakow to Hawaii!

So there you have it! Did you know you could hang papers on the wall with a paste made of flour?

Thank you to Amanda at Serenity Now for featuring my boys' room tour! If you missed it, here's the link to that post.
Have a groovy Tuesday!


Wow! What a great, inexpensive solution! Who knew?
ReplyDeleteCool idea Ellie! I bet your kids love it and probably love you mixed flour on their wall :)
ReplyDeleteThus a adult size bunk beds can solve two problems at a time making your life easier and the kid's bedroom much more organized
ReplyDeleteOh wow! i love these maps on the wall. I have a real thing for maps and globes and have wanted to do something with them in my boys' room as well.But I had never thought about how i would attach them..you are so smart...and brave ! :) definitely tucking this idea away for later.
ReplyDelete